Layout Update 1.0

A lot has happened over the past few weeks, and rather than break it up into small manageable chunks, I thought it'd be best to lump it all together.
Backdrop
 |
Zooming in affected the image quality, but I wanted to showcase the blue and white transition
|
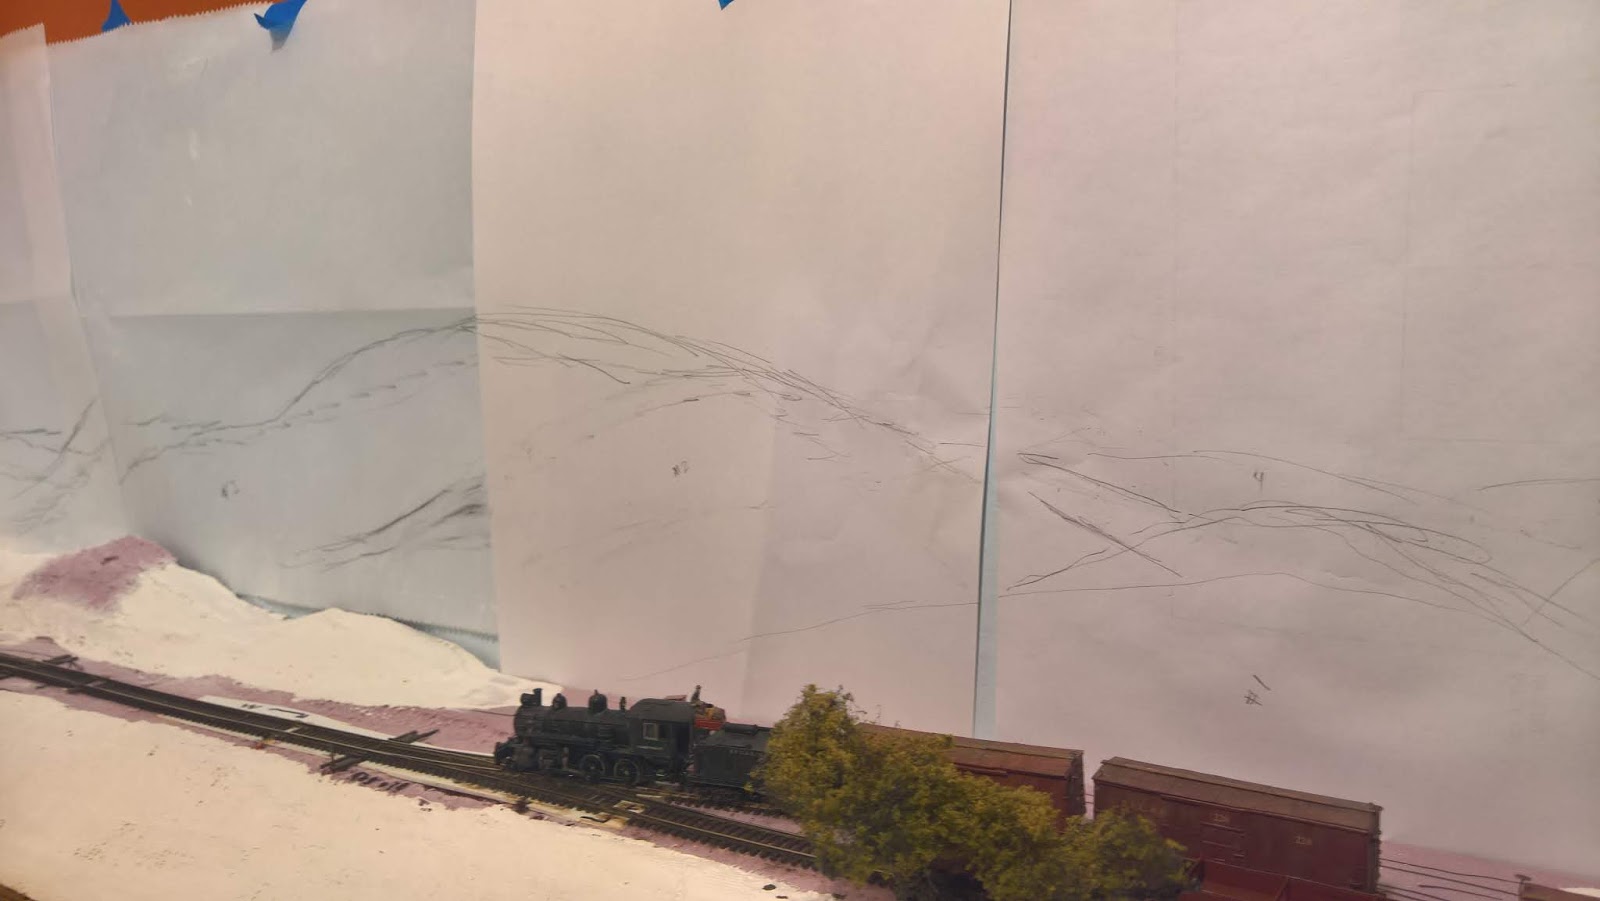 |
The wax paper from above was used to rough in backdrop ideas. The numbers on the hills refer to a sketch I had done that I was working off of.
|
Scenery
What had been roughed in hills were then glued in place. I waited until after I painted the blue and white on the backdrop before attaching the hillsides. I knew that I would be rolling the paint on, and having hills butt up against the backdrop would make that much more challenging.
 |
I was able to slip a piece of wax paper between the hills and the backdrop, which helped protect the finished paint from getting damaged by the plaster. I placed painter's tape along the edge to help keep things contained.
|
My next step will be to add Sculptamold to the base. Traditionally, I've used other forms of plaster to build up my scenery layers, but I thought I'd try something different this time.
Track Laying & Wiring
I've laid some track. Code 55, Atlas, to be exact. I used flex track and #5 switches. Because this is a little used branch line, I attached the track directly to the scenery with white glue. I also began wiring at this time. I learned a while ago that keeping certain elements uniform will save headaches in the long run, and wiring falls into that category.
(Most, if not) Every length of rail received a feeder wire. I used color coordinated (black and red), 20 gauge, solid wire for feeders. The feeder wires were connected (using Scotchlok connectors / suitcase connectors) to a 14 gauge solid bus wire.
 |
20 gauge solid feeders, and 14 gauge stranded bus wires
|
Switch Machines
Years ago I discovered Blue Point Switch Machines, and have been using them exclusively ever since. They are easy to install, stand up to a lot of use, and appropriately route power to the turnout frog. I took two of these from my old layout, and within half an hour or so, had them installed on the Buena Vista Branch. Each machine was hard wired to the main bus using the same wire as the track. The frogs were wired with a 20 gauge, stranded, feeder wire (which is green, like a frog.)Next Steps
In the coming weeks, I will try to paint the hills, continue the scenery, and paint and ballast the track. I haven't attached the DCC system yet, as it's still being used on the old layout, but I'm sure that'll make the move soon.
Products Used:
Blue Paint - Glidden Paint + Primer Interior Flat 'Clear Blue Sky' - (And for my own future reference: 70BG 70/131 - CLRNT: 0z 384th/BL: 0 8/EL 0 24)
White Paint - Glidden Paint + Primer Interior Flat White Tine Base
Layout Base - 1" Pink Foam Board Insulation
Plaster Cloth - Woodland Scenics Plaster Cloth
Track - Atlas Code 55 Flex Track and #5 Switches
Switch Machines - New Rail Models Blue Point Manual Turnout Controller
Wire - Feeders - 20AWG Solid, Bus - 14AWG Stranded
Suitcase Connectors - 3m Scotchlok Red - 22-14AWG


Comments
Post a Comment