Backdrops, Backdrops, Backdrops (or, more accurately, backdrop)
 |
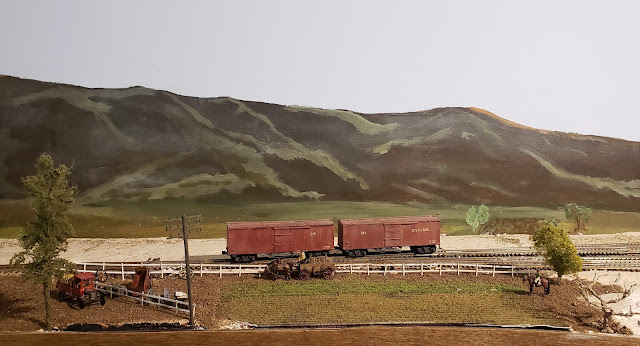
In all its proud glory. The layout continues about 18" to the left, the backdrop does not.
|
I used a 12" wide strip of 1/8" Masonite, 8' long. The 8' length doesn't cover the entire layout section, leaving about 18" unfinished along the east wall of the basement. I decided that it would be better to wait until additional benchwork was built, and to install another 8' section, rather than install a short piece right now. I attached the Masonite to the previously installed shelving brackets, with simple wood screws. It took some trial and error to get things to lock in securely. This left me with a number of holes to patch over the last few days. Once things were secured, I needed to install some leftover 1" x 2" framing poplar along the top of the backdrop to prevent warping. The end result is a secure continuous backdrop, covering the entirety of the branch line.
 |
There's a 1" x 2" attached to the top edge of the backdrop, providing some rigidity. It does not sit flush with the wall, because the wall is not flat.
|
Coving the Corner
My initial plan had been to install a 12" wide strip along each leg of the layout, and use styrene (cheap "For Sale" sign) to cove the corner. I'd used this method in the past, and aside from poor job I did transitioning the edges, the end result looked good. I decided against that method this time around, because I knew I would never be satisfied with any job I did trying to blend the styrene and Masonite together smoothly.
I decided, instead, to try to bend the Masonite. To do this, I first attached one edge, and then used a wet towel to soak the portion of the wood where I wanted the bend to be (wet the rough side). When I was happy with the bend, I securely attached the Masonite to the remaining shelf brackets.
 |
Poor quality picture...
|
 |
Proper masking is key to achieving a nice paint job. Even if that masking involves cardboard, wood, plastic, paper, and foam.
|


Comments
Post a Comment