 |
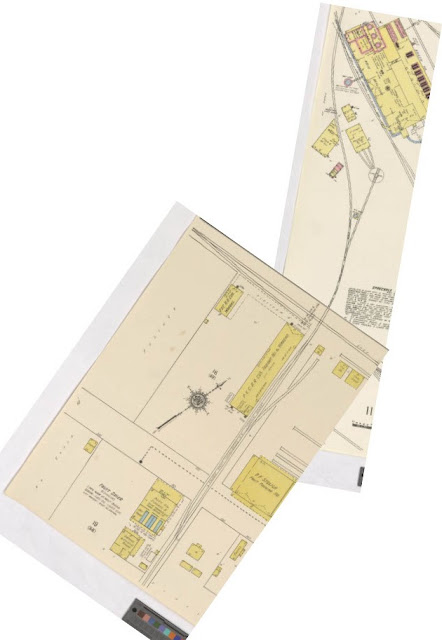
The new benchwork includes the town of Spreckels along the wall, and the Spreckels Sugar Refinery on the peninsula. The clutter is below and all around. (Eventually additional lighting fixtures will be added for the new section.)
|
The last two weeks saw the construction and installation of
the benchwork for both the Spreckels Sugar Refinery, and the town of Spreckels,
on my PVCRR. Construction of the benchwork was straightforward, and followed
the same design standards I used during the construction of the Buena Vista Branch.
 |
Mock-ups in place to see how the factory scene would appear with the backdrop in the background.
|
After the initial design was done (final measurements taken,
and wood purchased), I became complacent. The construction itself is sound, the
corners are more or less square, and the joints are tight. I knew what I was
planning on building, the new benchwork construction is divided into two
segments. The factory peninsula is 4’ x 1’, and the town of Spreckels is on a
frame that is 4' x 1' (the last 12" are 8" deep). I built them
independent of one another and bolted them together once they were in place on
the preinstalled shelf brackets.
Here’s where I ran into trouble. The factory peninsula is
four feet long, jutting out into the layout room. I had planned on securely
attaching it to two 24” brackets, ensuring that it was sturdy should anyone
lean on it or bump into it. To do this,
I mounted the brackets to the wall, 12” apart to align with the frames of the
layout. Unfortunately, the wall studs are 16” apart, and while this shouldn’t
have been an issue, for some reason every wall anchor I tried simply ripped
through the drywall, resulting in the situation below.
 |
The more anchors I tried, the more holes I created...
|
Fortunately, this mess is hidden behind the backdrop, but it
was still a challenge to deal with. Had I thought through the plan a bit more,
I could have made the layout section wider where it connects to the wall,
lining the framing up with the wall studs.
I ran into the issue again when I went to install the
Spreckels section. The wall brackets were spaced 16” apart to line up with the
wall studs, and the layout braces were 12” apart because it seemed like a good
idea. This isn't a major issue, just a small oversight. I don't think the layout would be any sturdier had things lined up the way I had wanted initially, but the underside would have been less cluttered.
 |
My hope had been to set the framing pieces directly on the brackets, and to have the brackets attach directly to the wall studs. Forgetting about this while building the layout frame, resulted in misalignment.
|
 |
The red lines show where the shelf brackets are, due to the wall studs. The black lines are the 1x2 layout frame
|
 |
This gap is a result of the square frame of the layout and the unsquared basement walls. Plaster or foam will fill the gap.
|
All of this is minor when you consider how unsquared the
basement walls are. I’m at the point where I can either line the next layout
section up with the one preceding it, increasing that massive gap, or change
the widths of the layout to fill the gaps, which sounds like it will be an uphill battle. I'll probably just begin filling the gaps with foam or plaster. Time will tell…
1" x 2" Poplar Dimensional Lumber
12" Double Track Shelf Brackets (Spreckels)
24" Double Track Shelf Brackets (Factory)


Comments
Post a Comment