3D Mock-up or How I built a scale model of a scale model.

I spent some time over the last few days putting together a scale model of my future scale model. I wanted to visualize how everything would fit in the basement, and get a feel for the height of the layout, the backdrop, and how it related to fixed elements like windows and shelving in the basement, and furniture.
It was fairly straightforward and simple, and I got the idea from some videos and pictures posted at Model Railroader / MR Video Plus.
 |
As you can tell, the original model was short a few feet and had to be extended.
|
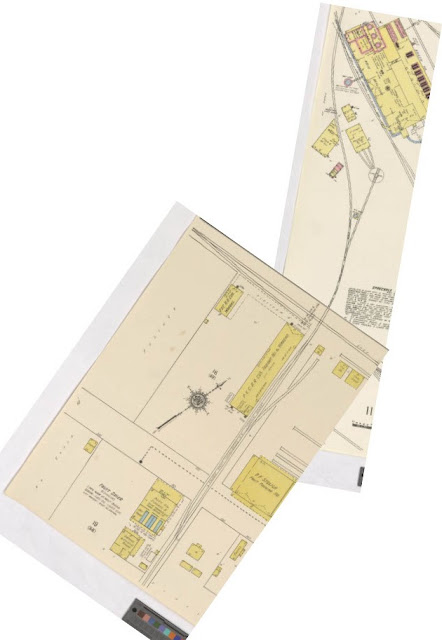
Construction consisted of attaching a track plan to some foam core with spray adhesive, and cutting it out. I then constructed a mock-up of our basement in the same scale as the track plan. I noted the location of key basement elements, like windows, stairs, and built-in shelving. It's worth noting that you shouldn't use superglue on foam board, the glue will dissolve the foam. Instead, use thick tacky craft glue.

While putting this together, I realized that my track plan was short by two scale feet and everything had to be extended. To do this, I cut one of the side walls off and put in a new section in the back long wall. I also added two additional feet to the track plan (visible in the pictures, just above the dresser mock-up.) I'm not concerned with the look of the model, this is a tool or sketch to help with final design considerations. I didn't glue the track plan or backdrop in place, allowing me to adjust the height to my liking. In this configuration, I believe the rail height is at 44", and the backdrop is 15" high.
As you plan your layout, I suggest doing something like this. It's an easy way to ensure everything fits, and in my case, it pointed out a major measurement error in my original track plan.


Comments
Post a Comment