Reassessing the Process
 |
I believe the peak of the roof just above the beet gondolas is the passenger shelter. Photo courtesy Steinbeck Country Narrow Gauge, courtesy UC Berkeley, Bancroft Library.
|
 |
The finished model.
|
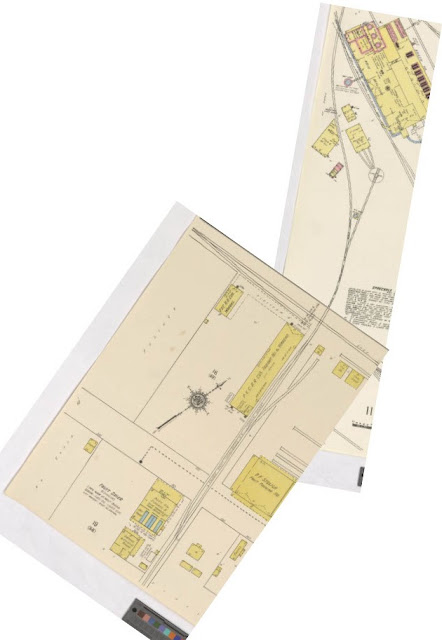
I found the plans for this station in Steinbeck Country Narrow Gauge. They appear to be original construction plans when the station was rebuilt at some point, the plans draw attention to the "existing platform." My guess is that the original structure was damaged in the 1906 earthquake (along with most of the facilities at Moss Landing), and this was the replacement.
When building Version 1.0 of this building, I carefully cut the four walls out of board and batten styrene sheets, cut out the doorways, and glued the walls together. I then attached the scale 10" trim along the base of each wall, built some benches for the interior, and even added tiny legs for the benches that no one would ever see, because benches need legs.
At this point, I realized that in my haste I left off the trim piece that wrapped around the building, as well as the doorway trim pieces. This structure is relatively simple, and I wanted to build it because of the opportunity to add these details to help give the structure some character, as a result, leaving the trim pieces off wouldn't be an option.
I thought about gluing the horizontal trim onto the battens on each wall. This, however, looked terrible. Next, I attempted to chisel out a channel for the trim pieces in each of the walls. Carefully I placed the trim into the channel in each wall. This also looked terrible. I decided to move forward and add the doorway trim and give the structure a coat of primer. The end product resulted in slanted trim, sloppy edges, and a general lack of quality.
 |
Version 1.0 = not good. The trim on the right looks like it's frowning. I was frowning too.
|
Knowing that I wanted to build this small station, and Version 1.0 wouldn't hold up, I realized that I needed to approach the structure differently. Rather than focus on each wall as an individual unit, I decided to try to build one long fence like wall, with all of the trim installed, and then use that to cut out the walls for the final model. Sort of like using cookie cutters on a large sheet of dough.
 |
While not perfect, the trim pieces are much straighter. I made this piece long enough to allow me to select the best sections for the walls of the depot.
|
I finished it in the usual ways, dry brushing, ink wash, dull coat, etc.
 |
This one is tiny. I'll give it another spray of flat finish to tone down the shine.
|
After changing how I approached the construction of this, I feel much better about the completed model. Whether or not I would have achieved the desired result building four individual walls a second time, I do not know. However, I do know that by thinking beyond the four small walls I ultimately needed, I was able to create a much better model.
Products used:
Builders In Scale - Part No. 400 - N Scale Shake Shingles
Evergreen Scale Models - Part No. 4542 - Board & Batten .075" Spacing
Evergreen Scale Models - Part No. 2060 - V-Groove .060" Spacing
Evergreen Scale Models - Part No. 100 - .010" x .020" Strips
Evergreen Scale Models - Part No. 102 - .010" x .040" Strips
Evergreen Scale Models - Part No. 103 - .010" x .060" Strips
Steinbeck Country Narrow Gauge - Page 228 - 229


Comments
Post a Comment